Current Promo

Current Promo

Current Promo

Correct trampoline installation is crucial to avoid any safety issues and to ensure the usability and longevity of the trampoline.
For those who have never assembled a trampoline before, this can seem quite overwhelming. So, how does one go about assembling a trampoline? Vuly trampolines are super easy to assemble thanks to the quality visual guides and videos that are provided - you can find our installation guides here.
For other brands, here’s a simplified guide to help you through the process.

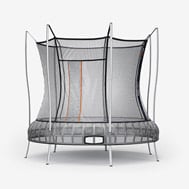
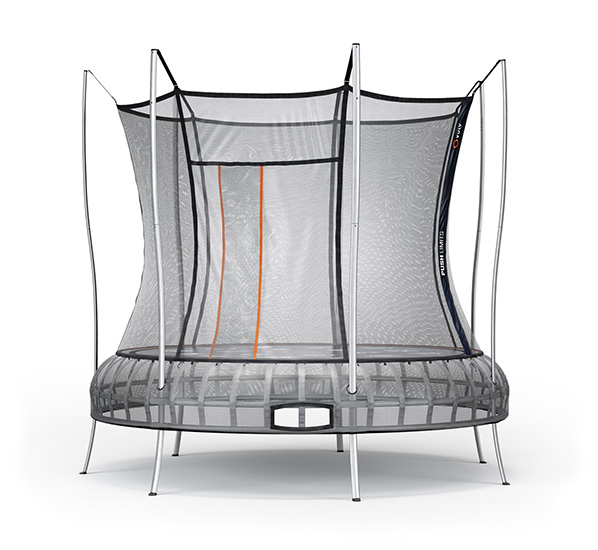
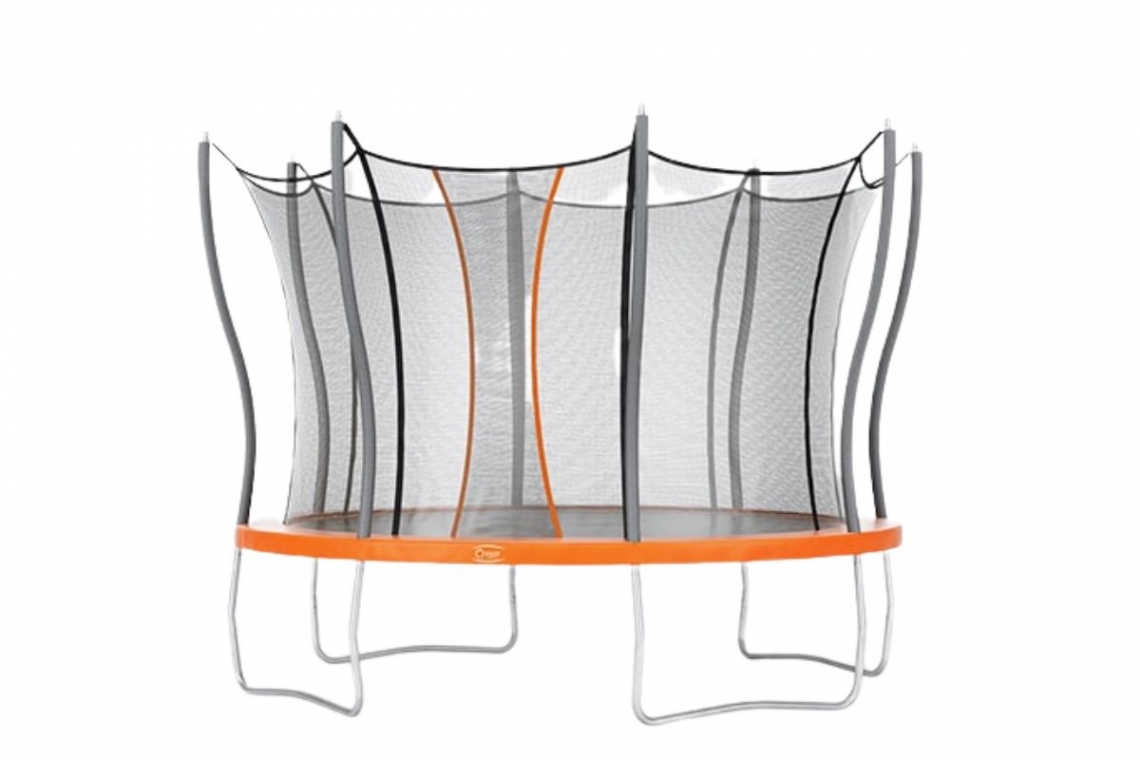
Before starting the trampoline installation process, an important starting point is understanding the various parts of the trampoline. Each is designed to serve a specific purpose, contributing to the overall functionality and safety of the trampoline. For most trampolines you can expect the following parts:
These components provide the foundational support that holds every other part together, providing stability and balance to the trampoline. They are often made from robust materials designed to withstand heavy use and the environment, ensuring the longevity and durability of the trampoline.
The jumping mat is the central fabric component on which users bounce. It's carefully crafted from durable materials designed to withstand tension and pressure, providing a smooth bouncing experience.
Surrounding the jumping mat is the safety net, a crucial feature designed to protect users by preventing them from accidents. This net is typically constructed from high-strength, weather-resistant materials, ensuring users can jump and have fun with an added layer of safety.
The trampoline ladder serves as a means for users to climb onto the trampoline safely. It is a simple yet essential accessory, particularly for smaller children, facilitating easy access to the jumping mat.
The anchor kit is a vital component that keeps the trampoline firmly grounded, preventing it from tipping over by strong winds or abrupt movements.
The springs are responsible for providing the bounce in a trampoline. They connect the jumping mat to the frame, ensuring that the tension is distributed evenly across the trampoline.

When you are ready to start installing your trampoline, there are important preparatory steps that are crucial to follow to ensure successful installation:
Carefully examine the package to confirm that all parts and components listed for the trampoline are present. If you find that a part or component is missing, you should contact your manufacturer before beginning the assembly process.
Once you have confirmed that you have all of the parts, arrange them systematically. Grouping similar parts together can significantly minimize confusion during assembly.
Assemble all the essential tools and protective gear you'll need. Depending on the model, these can include a screwdriver, safety gloves, a rubber mallet, a power drill, and a spring puller.
Selecting the right location is also important. Your trampoline base should be sturdy, flat, spacious, and free of obstacles to avoid any accidents and ensure safe use.
Now that preparations are complete, you’re ready to start putting your trampoline together. Here’s a guide to help you get started:
Start by positioning each piece of the frame on the ground, creating the outline of your trampoline. Refer to the instruction manual to make sure each piece is placed correctly.
Once the frame is laid out in its proper shape, attach the legs to the frame, following the instructions carefully. Use the provided bolts and nuts, ensuring each is tightened properly. This step is crucial as it provides the support that keeps the trampoline upright and stable.
With a stable frame and legs, attach the jumping mat to the frame. Use the spring puller tool to hook the springs from the mat to the frame securely, making your way around the trampoline evenly.
Before setting up the safety net, place the protective padding over the springs to avoid any accidents, ensuring it covers all the springs properly.
Assemble the poles around the trampoline and firmly attach the safety net to them, ensuring it's tight and secure. This net should surround the whole bouncing area to prevent jumpers from falling out.
The final step is to fix the ladder. Attach the ladder to the frame using the provided hooks or straps. Make sure that the ladder is securely attached and that it is easily accessible from the ground.
Some trampolines also come with additional trampoline accessories, such as basketball hoops or storage pockets. It’s essential to follow the manufacturer’s instructions carefully when installing these accessories to ensure they are securely fixed and won’t pose any safety risks.
Go over every part once more to ensure everything is tightly fastened. Double-check the bolts and nuts, and ensure the springs, safety net, and protective pad are all securely attached.
Before letting anyone use the trampoline, it's important to do a thorough safety check. Press down gently on the jumping mat to test its resilience and the stability of the structure. Examine the safety net to make sure it’s securely attached and will hold up during use. It’s always better to be safe and ensure everything is in place correctly before jumping in.
When you’re putting together a trampoline, it’s important to avoid a few common mistakes to ensure that it’s safe and fun to use. Some common mistakes include:
The instruction manual provides key information; it guides you to correctly assemble your trampoline. Overlooking or ignoring it could lead to a poorly assembled trampoline, making it unsafe for use.
Select a location that is spacious, flat, and open, so you have plenty of room to jump and play safely. Avoid placing your trampoline on uneven surfaces or under areas with overhead obstructions like trees or power lines. These can pose safety risks and hinder the enjoyment of the trampoline users.
Rushing through the installation process can lead to missing vital steps or not securing parts properly, which could compromise the safety of the trampoline. Be patient, take your time, and pay attention to each step, ensuring every part is assembled correctly and securely. Being meticulous will help you have a safer and more enjoyable experience later.
You should frequently inspect your trampoline for any signs of wear and loose components. Ensure that everything is in good condition and that there are no damaged parts that could cause accidents. This will help maintain the trampoline’s safety and prolong its lifespan, allowing for many more joyful jumping sessions.
Every trampoline has a weight limit. Overloading the trampoline with too much weight can lead to damage and, more importantly, injuries. Always adhere to the manufacturer's specified weight limits to maintain safety and prevent any unwanted accidents.
Always ensure the safety net is securely in place during use. The safety net keeps jumpers safe inside, preventing them from falling out.

added to your cart